VISUAL METHOD (VT)
TEC Eurolab
Non-destructive testing by visual method (VT)
Verify the suitability of your component using the visual method

WHAT IS THE VISUAL METHOD (VT)?
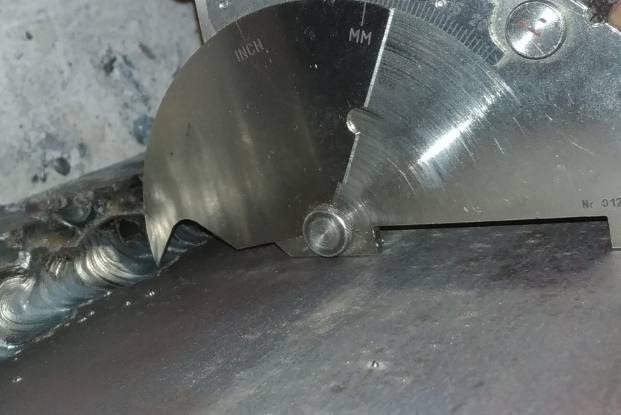
Visual inspection (VT) is a method of assessing the condition of a component through the visual observation of it.
Only seemingly simple, VT inspection should be applied in conjunction with other surface/volumetric methods and can provide an accurate examination about the condition of the component and any issues found during the performance of other inspections.
Unlike other testing methodologies, whose applicability depends heavily on chemical/physical or geometric characteristics of the component, visual examination can be applied on the entirety of industrial artifacts.
WHERE AND WHEN IS VISUAL METHOD (VT) CONTROL APPLIED?
As the name describes, visual examination involves observing the part in order to identify precise features.
TEC Eurolab performs visual inspection in accordance with:
- UNI EN ISO 13018: general visual assessment of components or artifacts in order to detect anomalies (corrosion, incorrect assemblies)
- UNI EN ISO 17637 – Direct visual examination: inspection carried out on welded joints with acceptability assessment in accordance with UNI EN ISO 5817 for the detection of defectological anomalies and shape/geometric anomalies
- UNI EN ISO 17637 – Remote visual inspection: visual inspection performed using Videoendoscopes/Boroscopes for the inspection of welds that are not accessible by direct examination, recording the inspection and sharing the outcome to the customer with archiving of the result
- Visual examination on castings with SCRATA surface comparators: TEC Eurolab, through the use of SCRATA comparators, determines the surface condition of castings quantitatively
Do you need a visual method inspection?
TEC Eurolab can carry out
the tests you need.
FAQ – VISUAL METHOD
Faq
In visual non-destructive testing, is it important to carry out thorough surface cleaning of the part?
Absolutely. Calamine, oxides, grease, and dirt, in general, can mask or even cover up a discontinuity, preventing its detection by the inspecting operator.
What are the most reliable methods in general?
All non-destructive techniques are very reliable, but each has application limitations, so the control should be designed and chosen according to the defect to be searched for.
DISCOVER MORE
Insights
TEC Eurolab has various instrumentation for performing VT inspections.
TRAINING
TEC Eurolab Academy 2023 Scheduled Courses
Are you planning your company’s technical training for the new year?
TEC Eurolab Academy is pleased to share the 2023 CALENDAR, with the rich proposal of technical training offered by TEC Eurolab.